Videos that Support a Succesful Museum Visit
Originally Created in Support of the Any Given Child Program for Fresno County Schools
Please feel free to use our pre-visit and post-visit lessons, videos on illustrations and illustrators, three of the elements of art (line shape, and color), gallery tours from past exhibitions in our Museum, all designed for third-grade students between 2020 and 2023 when everything went virtual for several years.
While all the videos are located on YouTube in a Channel PlayList, you may access them individually by clicking the images below and you will be taken to that video on YouTube. If you wish to share the videos with others, please do so.
Anyone is welcome to download and utilize our Unit Plans.
Thank you. We hope you enjoy!
PRE-VISIT LESSONS
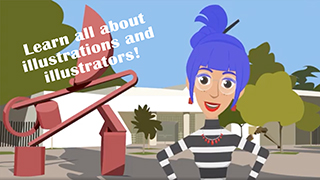
Pre-visit: Illustration Art Video Presentation (1)
(Click the image below to link to video.)
For participants in the Art of the Word virtual or in-person tour, this is the first video to watch. It can also be watched on its own if you want to learn how much illustrations and the people who create them are a part of our lives. It was based on the PowerPoint presentation created over a number of years by FAM Education Director Susan Yost Filgate for the live tours at the Museum. It has been taken to a whole new level by former FAM Art Instructor Katie Jenkins-Moses.
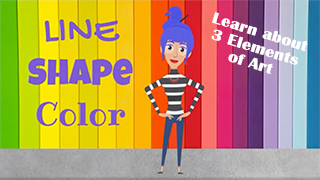
Pre-Visit: Line, Shape, & Color Video Presentation (2)
(Click the image below to link to video.)
For participants in the Art of the Word virtual or in-person tour, this is the second video to watch. It can also be watched on its own if you want to learn about line, shape, and color and how artists use these three elements of art most frequently, and how you can apply them to your own art-making. This lesson should be done before your virtual tour of the Museum.
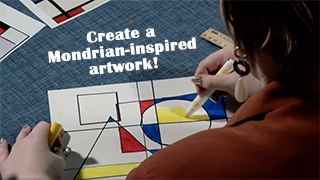
Pre-visit: Mondrian-Inspired Art Lesson (3)
(Click the image below to link to video.)
This lesson is a follow-up to the Line, Shape, and Color Video Presentation. Watch the lesson first and then play it again, if you like, and follow along. This lesson should be done before your virtual or in-person tour of the Museum. You will need:
- a sheet of 8 1/2" x 11" white paper or cardstock
- black markers, both thick and thin (black Sharpie permanent markers work best, but any black marker will work.)
- Thick and thin markers in the primary colors: blue, red, and yellow
- a plastic cup about 3" in diameter
(The complete lesson plan can be found in the Unit Plan.
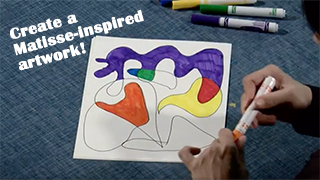
Pre-visit: Matisse-Inspired Art Lesson (4)
(Click the image below to link to video.)
This lesson is a second follow-up to the Line, Shape, and Color Video Presentation. Watch the lesson first and then play it again, if you like, and follow along. This lesson should be done before your virtual or in-person tour of the Museum. You will need:
- a sheet of 8 1/2" x 11" white paper or cardstock
- a 12" ruler or straightedge
- black markers, both thick and thin (black Sharpie permanent markers work best, but any black marker will be fine.)
- Thick and thin markers in both the primary colors (blue, red, and yellow) and secondary colors (green, purple, and orange). If you have other colors, you can introduce them later too.
(The complete lesson plan can be found in the Unit Plan.)
VIRTUAL TOURS OF PAST FAM EXHIBITIONS
POST-VISIT LESSONS FOR ARTS INTEGRATED UNIT PLAN
You are welcome to do more than one lesson, but at least one should be done by FUSD third-grade teachers to submit in the binder.
To be utilized after your Museum visit.
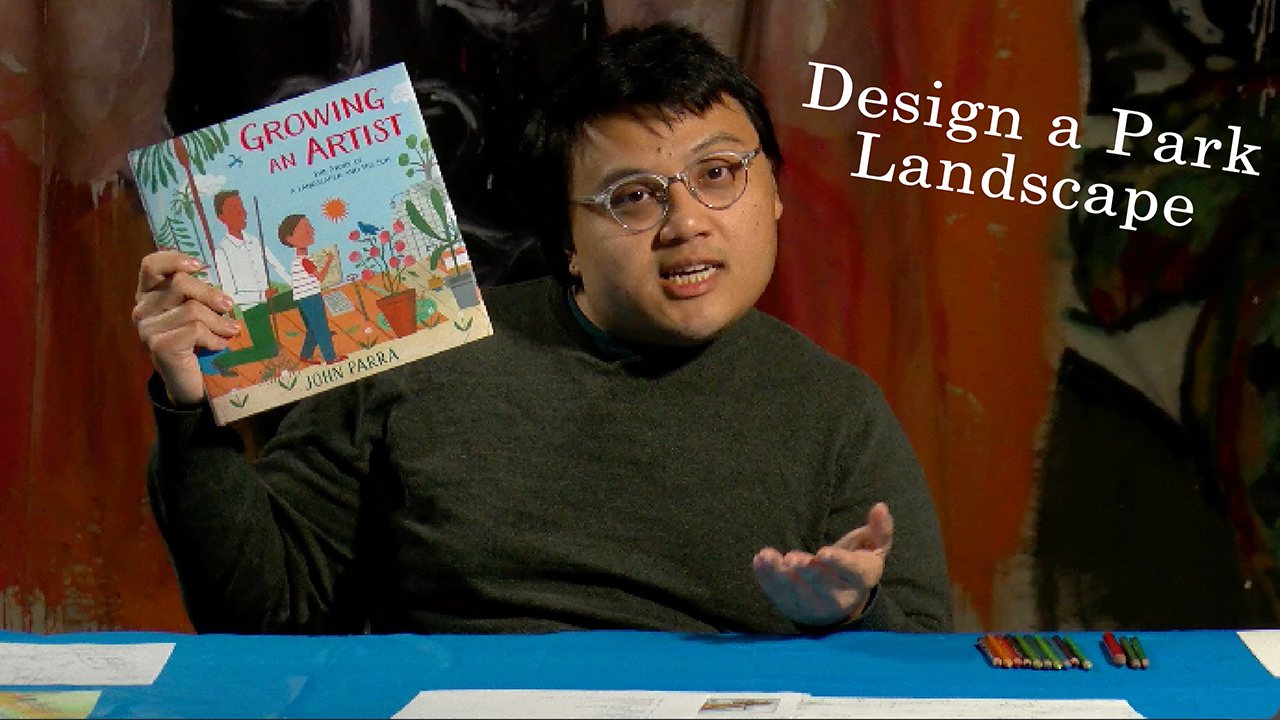
Lesson 1 - Art Lesson inspired by John Parra's book Growing an Artist: The Story of a Landscaper and His Son
Imagine you are a landscape designer like John Parra's father. You are given the task of designing a park. What would you put in your park?
(Click the image below to link to video.)
After reading the book Growing an Artist: The Story of a Landscaper and His Son and/or touring the Museum exhibition, virtually or in person, students can design and draw their own park. It can be used as a post-visit lesson during the 2023/24 school year.
You will need:
•2 sheets of 8.5” x 11” - one sheet of plain paper (or scrap paper) and one sheet of card stock works best
•Color pencils are preferred, but crayons are an option
•Pencil and eraser
(The complete lesson plan can be found in the Unit Plan.)
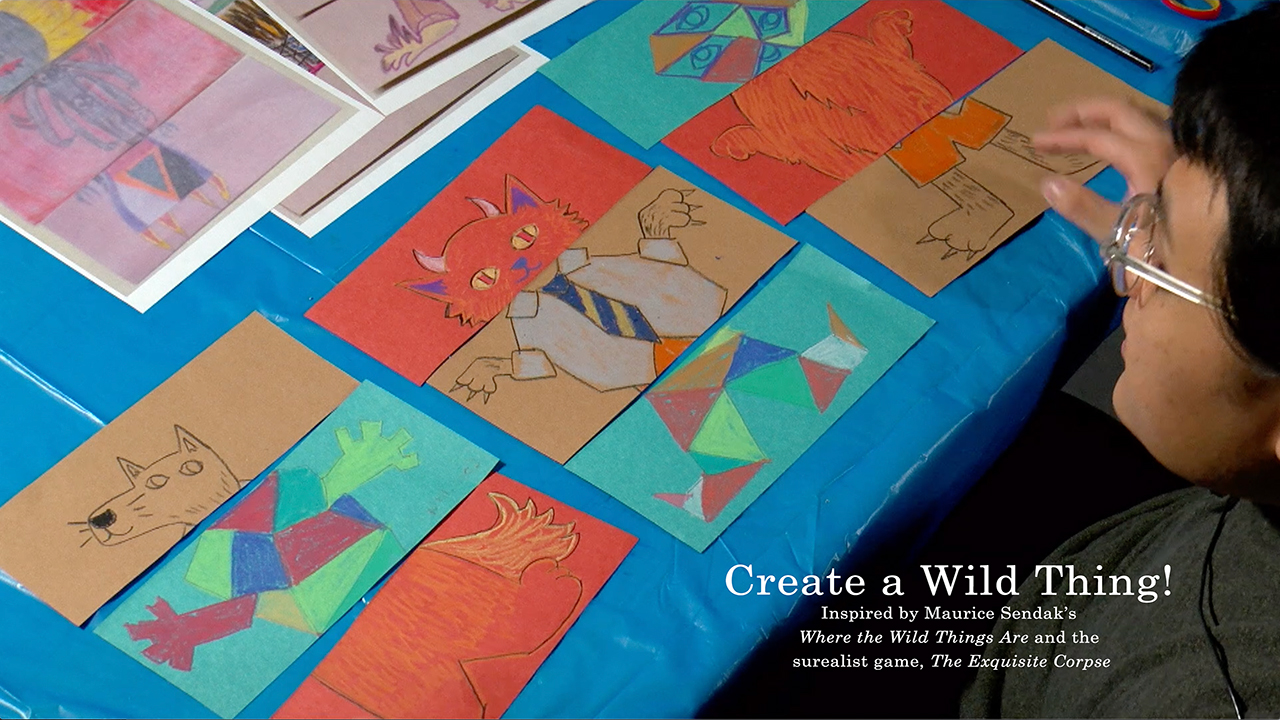
Lesson 2 - Create a Wild Thing
You can read the book that inspired this art lesson. Think and talk about what animals Maurice Sendak took bits and pieces from to create his wild things. Have the students think about what animal features they would like to use to create their own wild thing. If this is done with a group of students, they can play the game The Exquiste Corpse which is explained in the video below.
- one sheet of any color of construction paper (cut to 8 1/2" x 11" if you plan to submit as your entry in the binder for the showcase event at the Museum)
- construction paper crayons (made by Crayola-brighter then regular crayons) or oil pastels work well
- scissors
(The complete lesson plan can be found in the Unit Plan.)
Lesson 3 - Create a Garden About You!
Inspired by illustrations of Rafael López from the book Just Ask! Be Different, Be Brave, Be You by Sonia Sotomayor
(Click the image below to link to video.)
You can watch the virtual tour inspired by the book Just Ask! from the 20221/22 school year if you want and then create your own artwork inspired by the exhibition to create a garden that is all about you. Get inspired by looking at gardens and utilizing a variety of lines, shapes, and colors.
You will need:
- Different colors of construction paper (see notes)
- 1 sheet of construction paper (8.5” x 11”) in a pastel color or white, cut to size
- Scissors
- 2 or 3 different sizes of cups or other circular objects to use to trace circles
- Glue stick
- Black permanent marker (Sharpie recommended)
- Pencil with eraser
- Scrap paper
(The complete lesson plan can be found in the Unit Plan.)
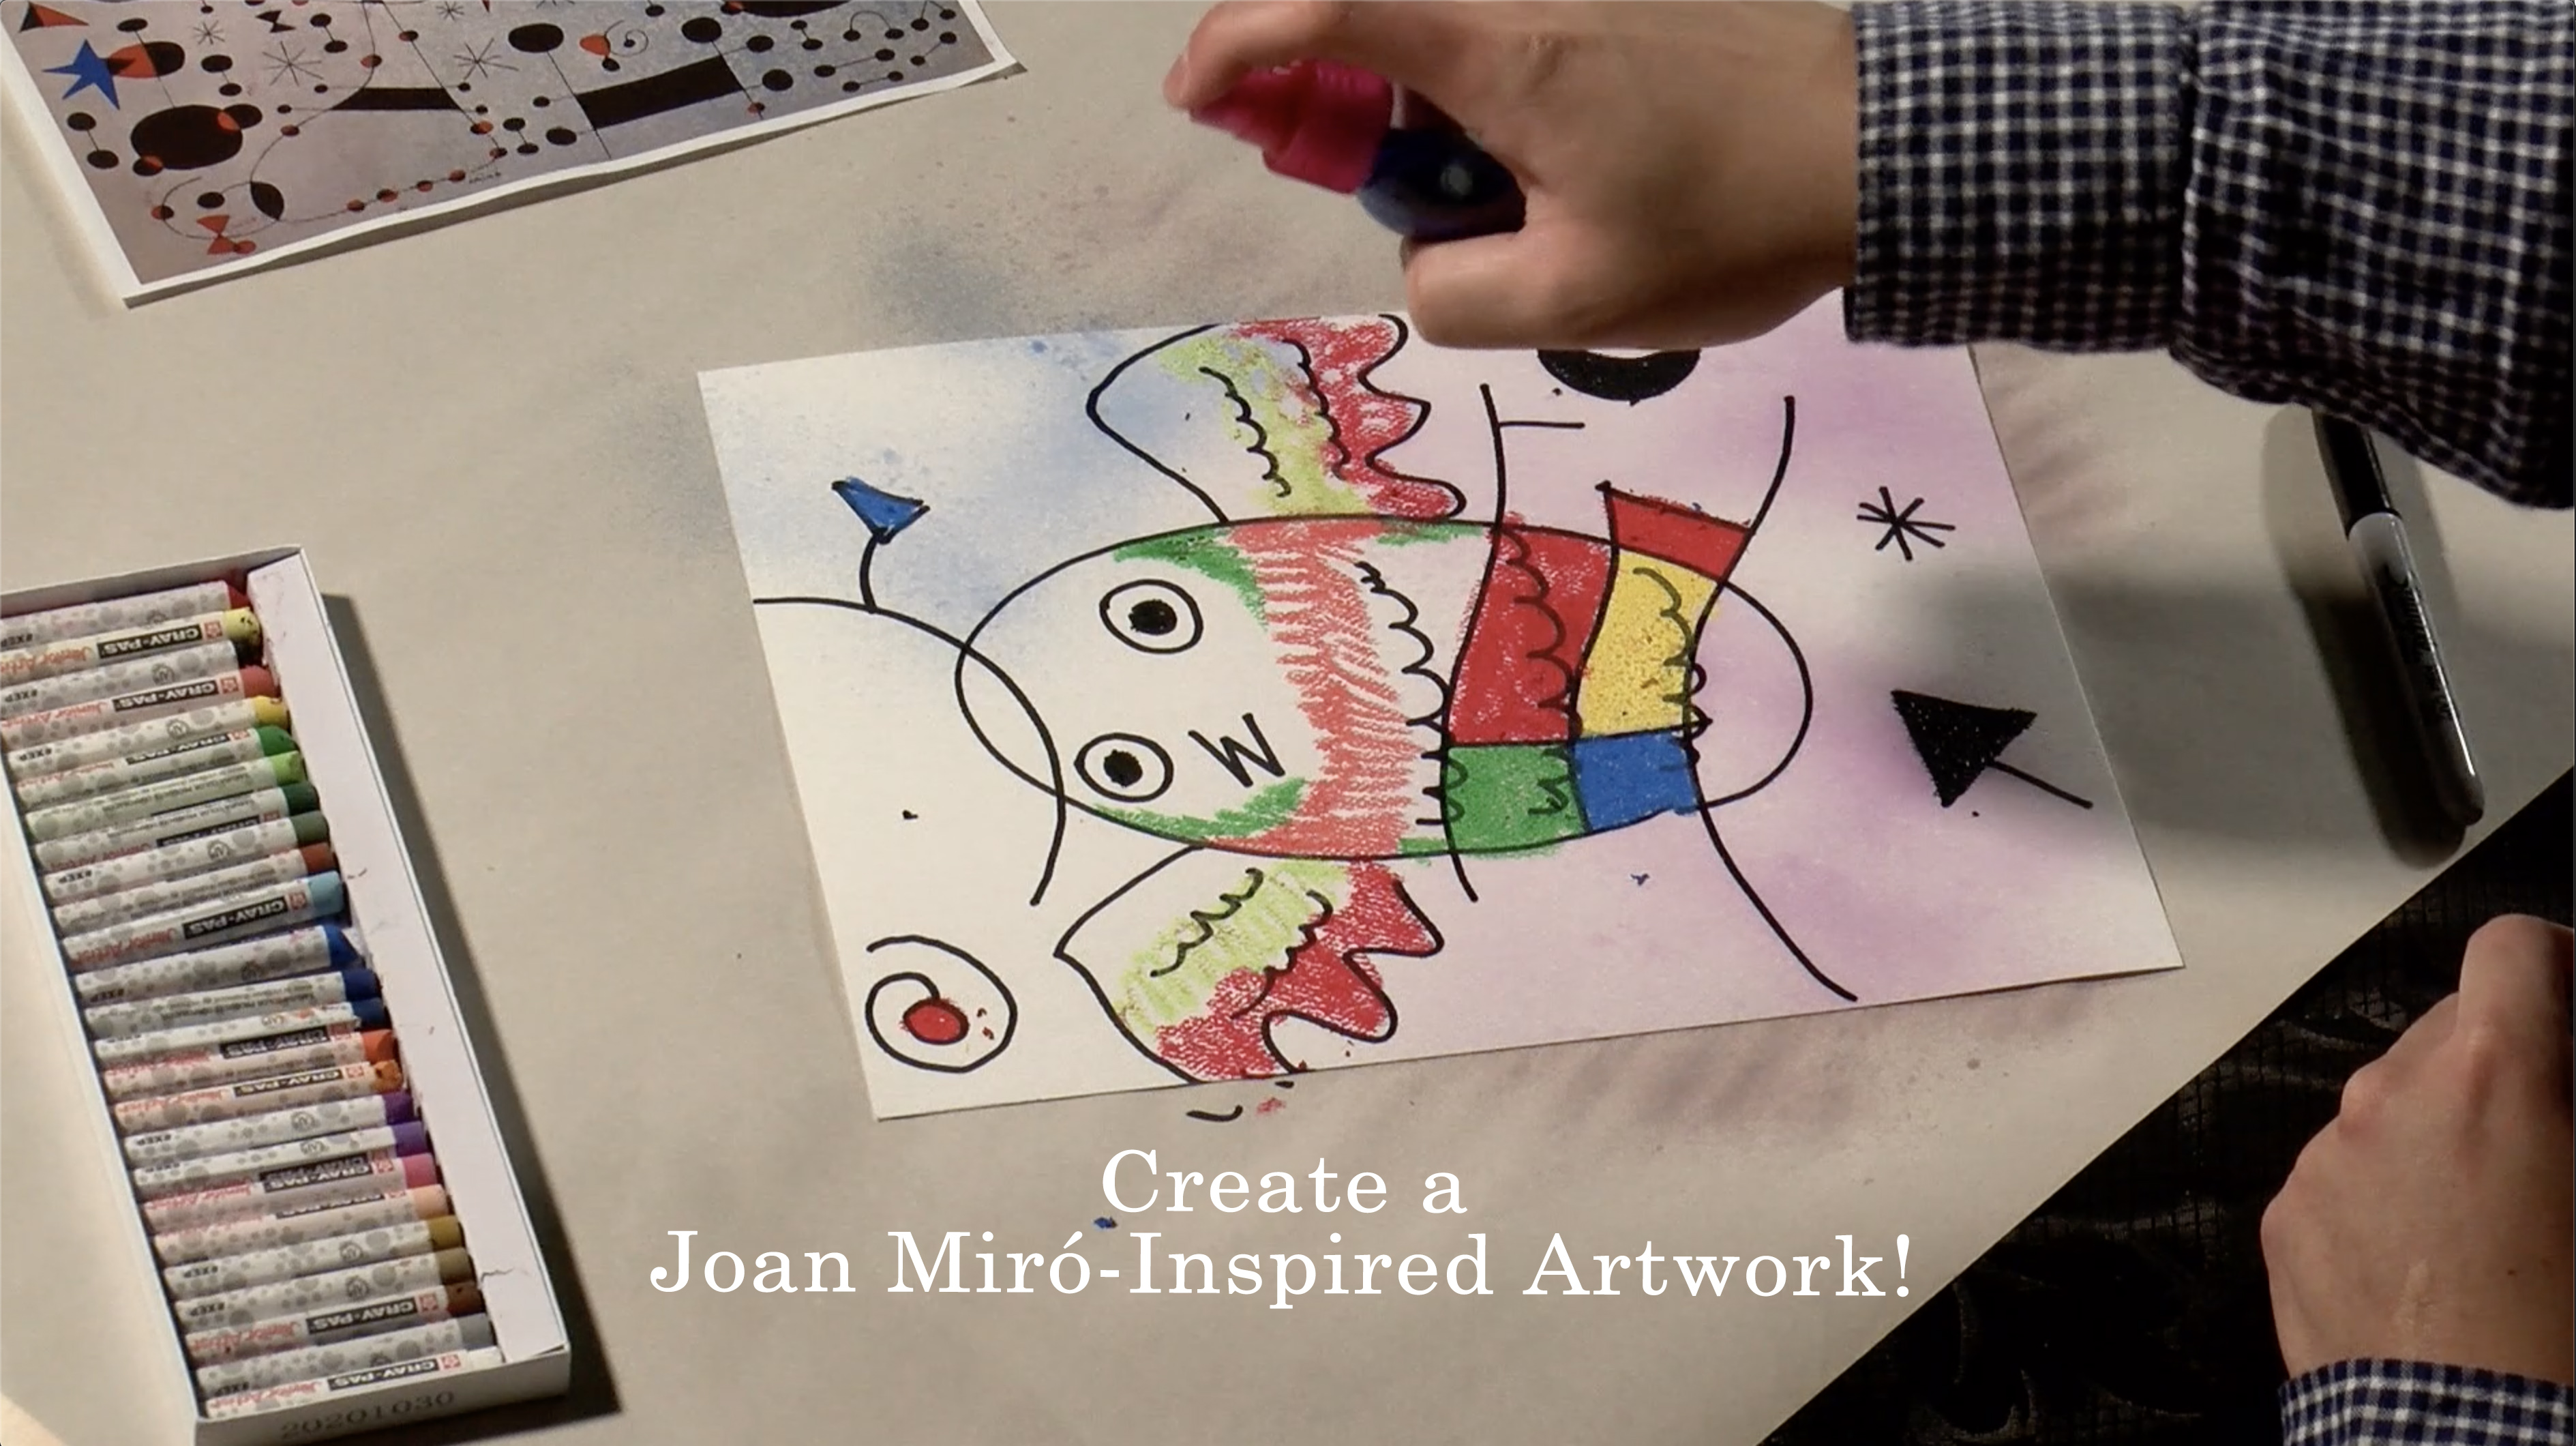
Lesson 4 - A Joan Miró-Inspired Art Lesson
(Click the image below to link to video.)
In this lesson, students will create art in the style of Jean Miró and write a poem to describe the good qualities of the character they create. They will use a combination, of lines, shapes and colors to create their fanciful character.
You will need:
- 8.5” x 11” white or grey construction paper (grey preferred-cut to size)
- Black fine point Sharpie or other black permanent marker (you can use other black pens, but Sharpies do not run or smear when you add color.)
- Oil pastels
- Ink (liquid watercolor, acrylic, tempera, even food coloring)
- Small plastic spray bottles with water.
(The complete lesson plan can be found in the Unit Plan.)
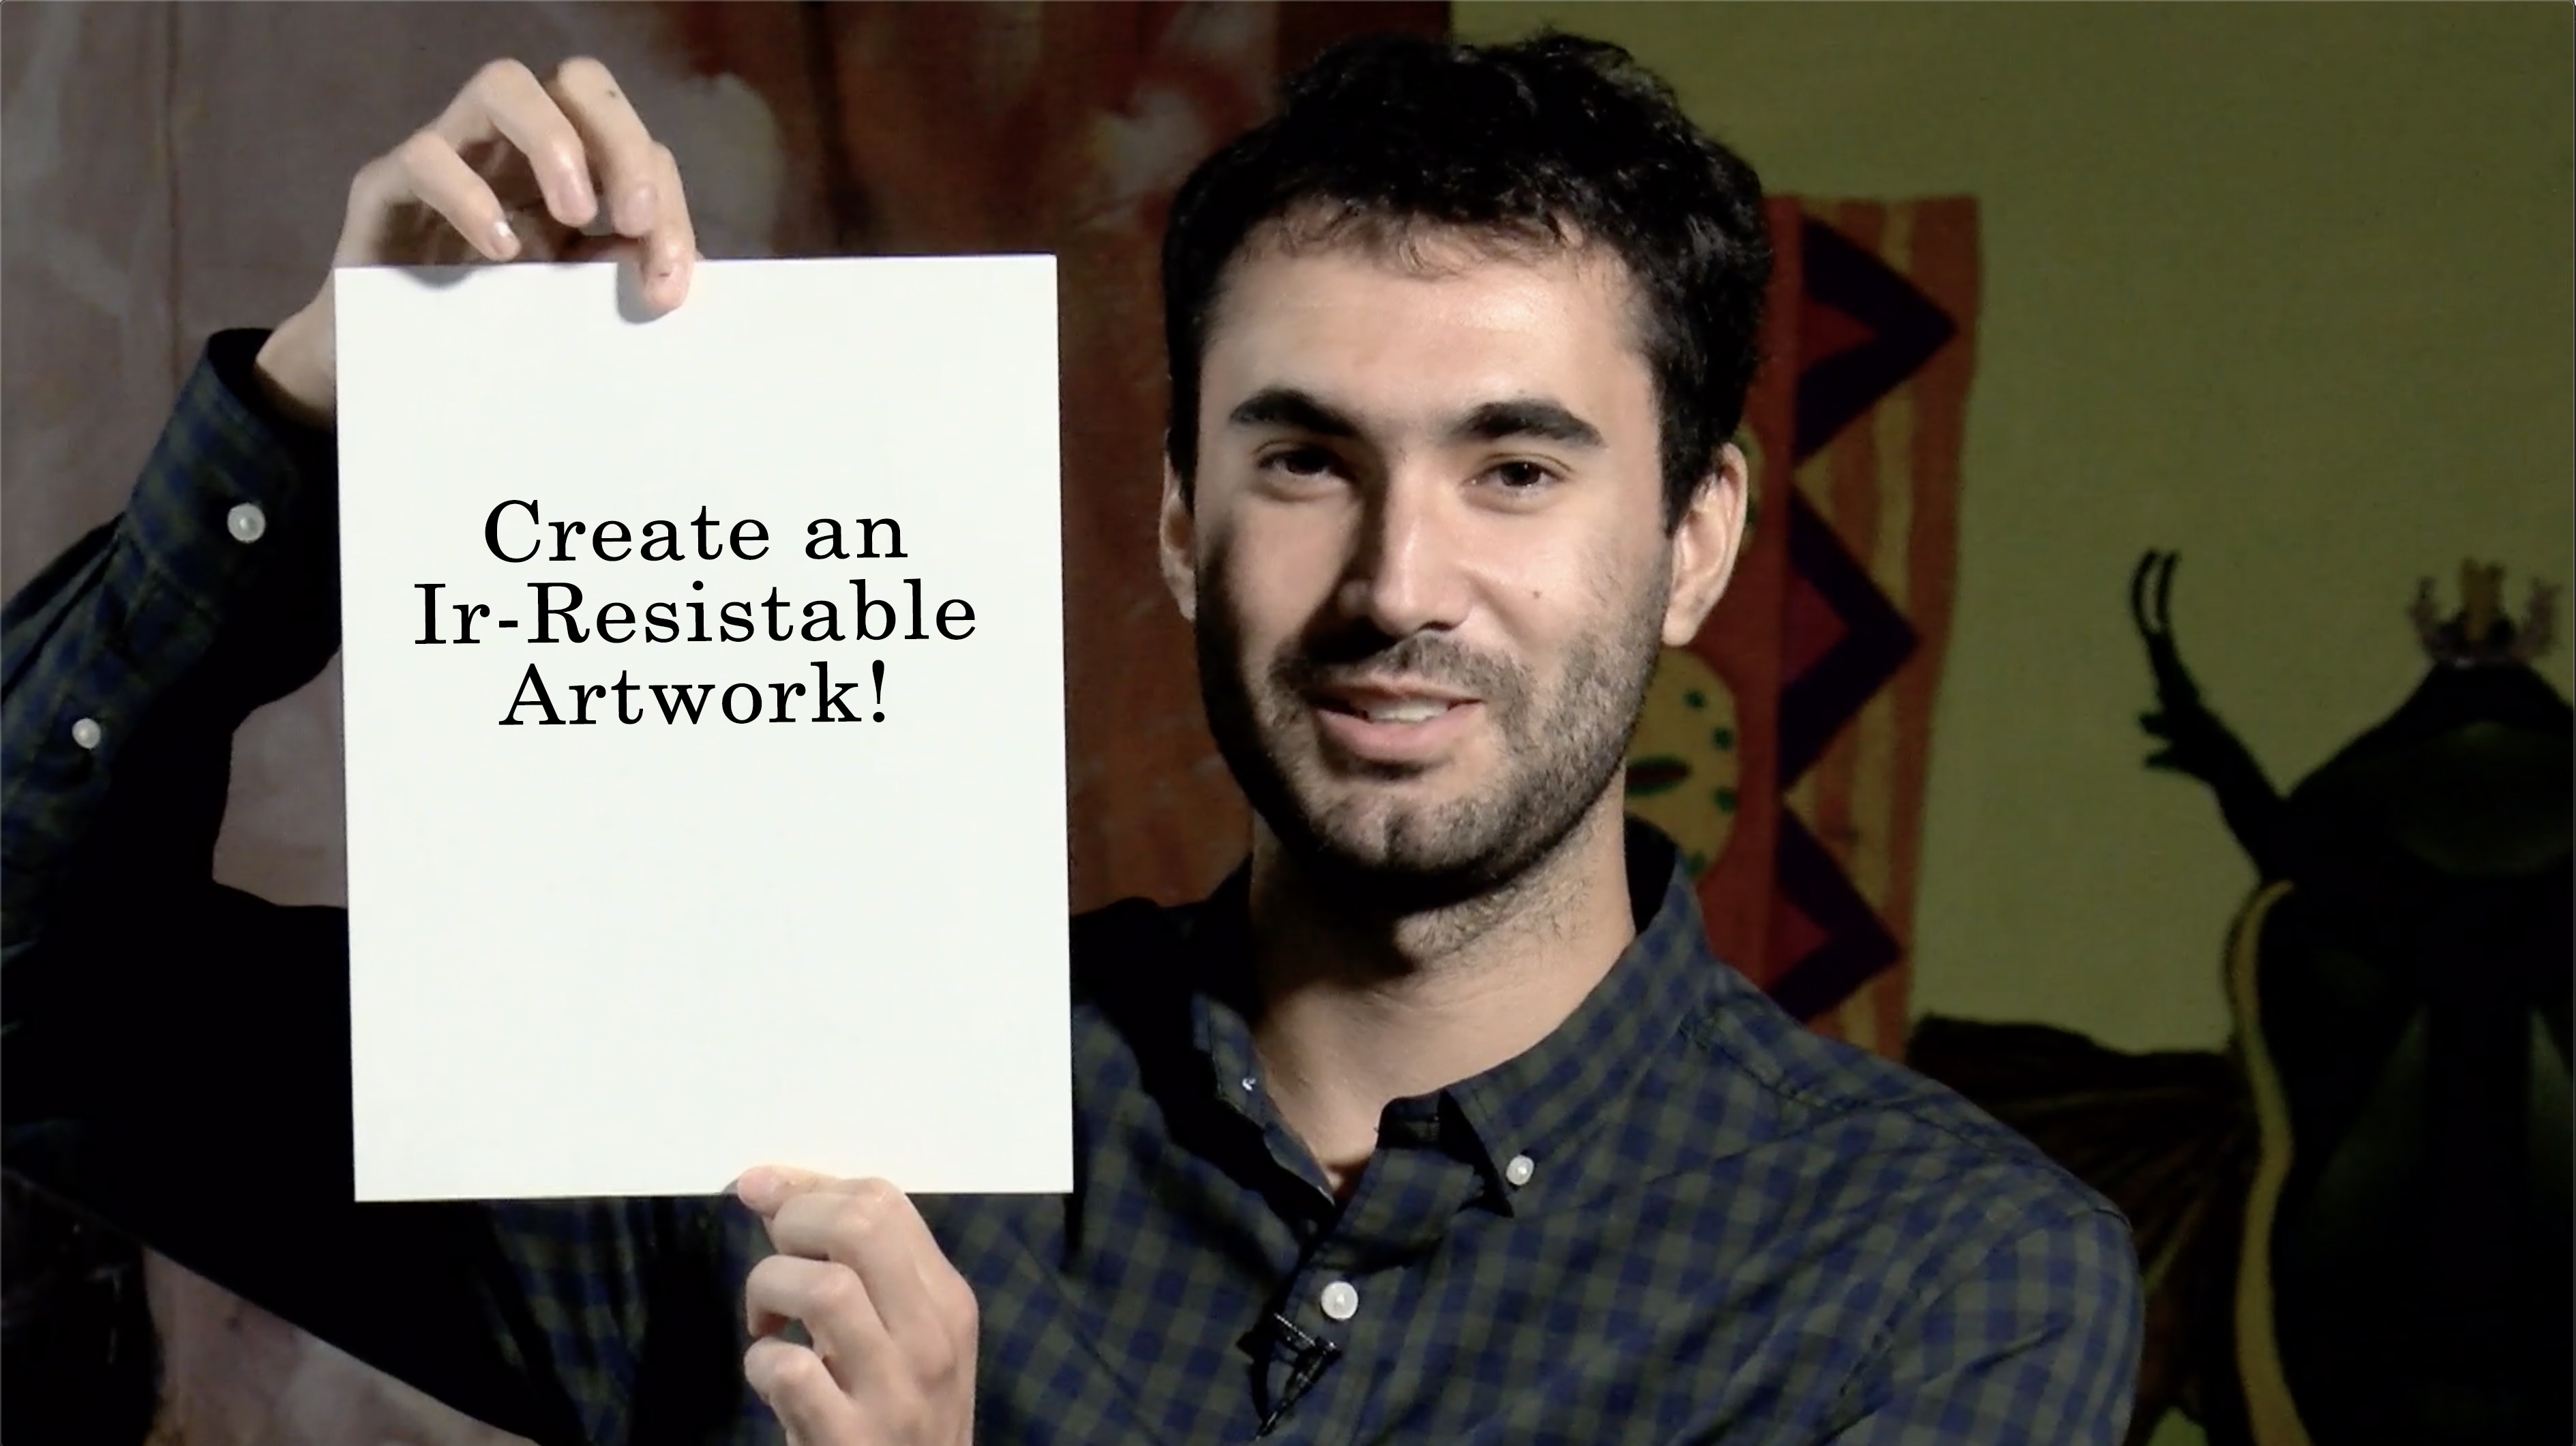
Lesson 5 - An Ir-Resistable Character Art Lesson
(Click the image below to link to video.)
In this lesson, students will create a character in an artwork using a simple resist-method and write a poem to describe the good qualities of the character they create. They will use a combination, of lines, shapes, and colors to create their fanciful character. Note that this may be done over several days to allow the glue used for the resist to dry.
You will need:
- 8.5” x 11” white paper
- 8.5” x 11” black construction paper (cut to size)
- Pen or pencil to use only for design stage
- White chalk
- Fabric starch (optional)
- Bottled white school glue that can be squeezed directly from bottle
- Oil pastels or color chalks
- Q-tips (optional)
(The complete lesson plan can be found in the Unit Plan.)
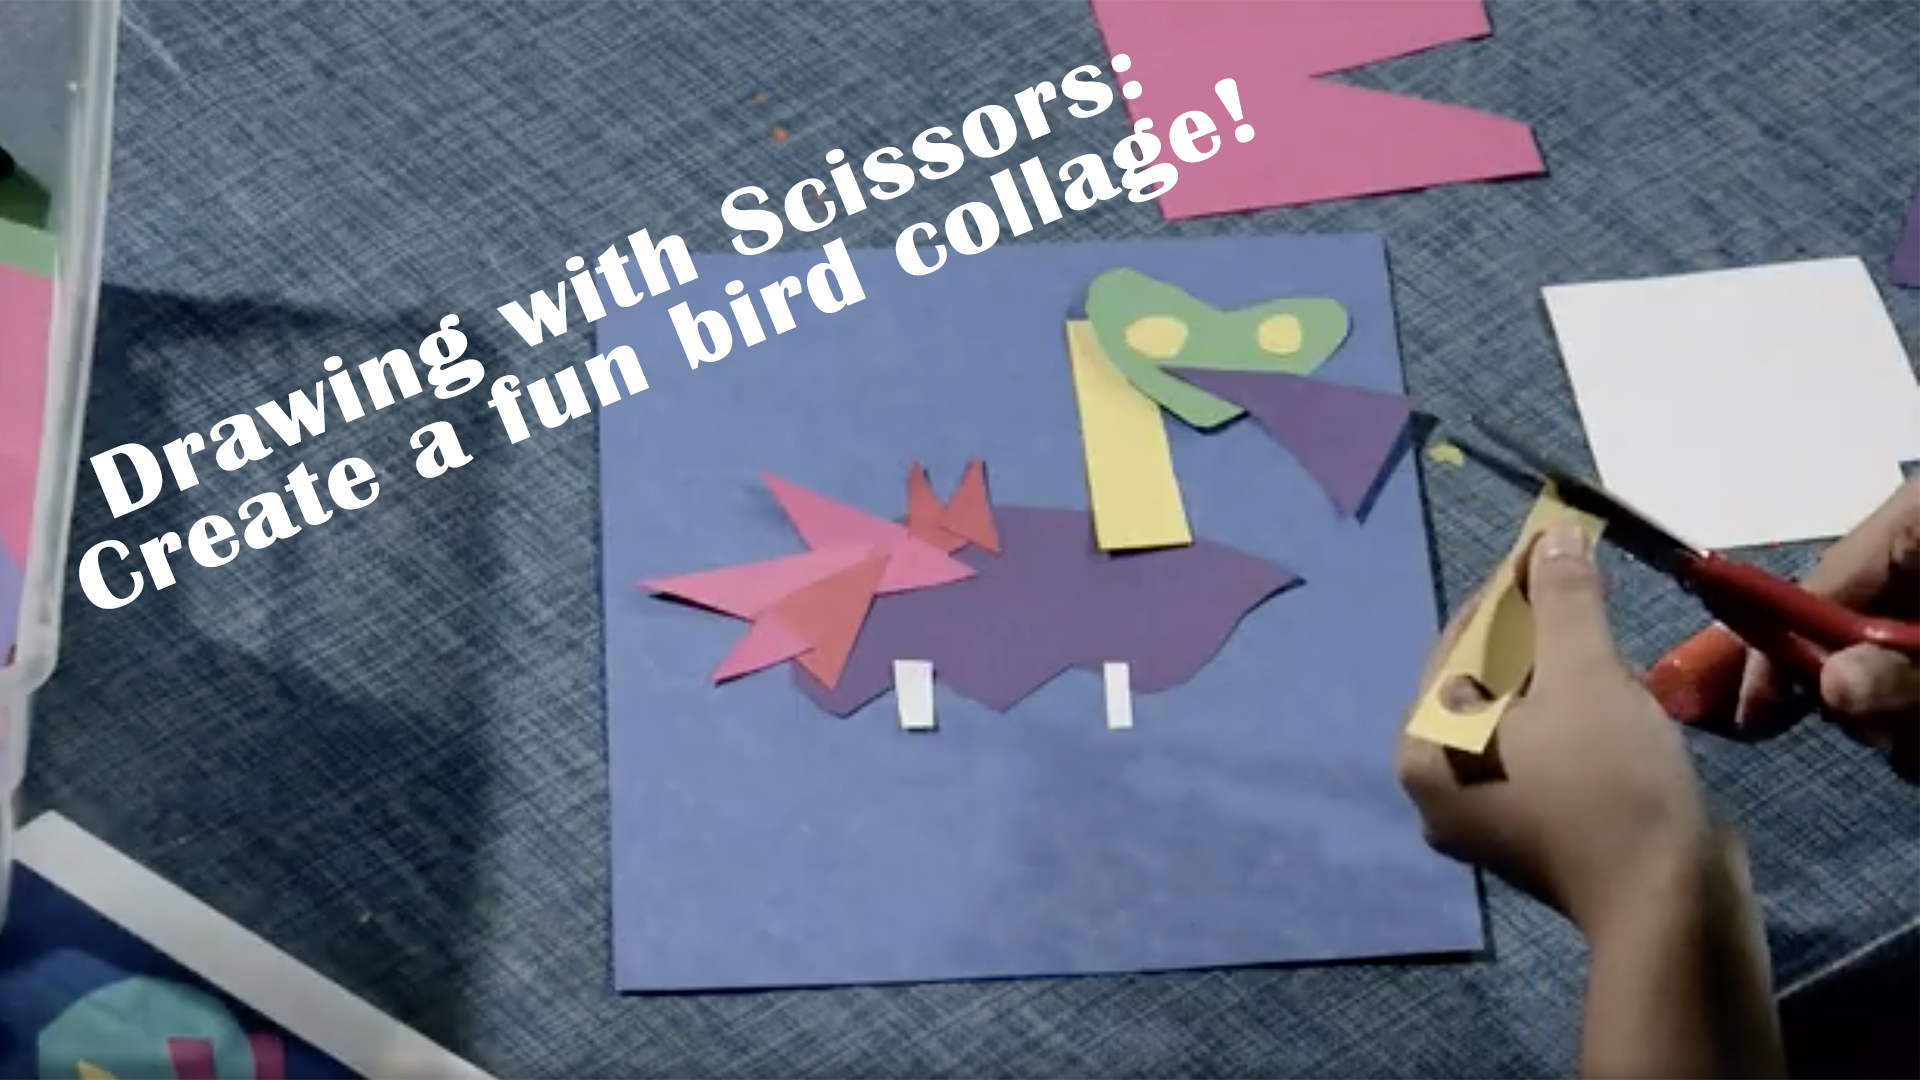
Lesson 6 - Drawing with Scissors: Bird Collage Art Lesson
This one is a FAM favorite-it always results in unique and fun artwork!
(Click the image below to link to video.)
This lesson is a follow-up to all virtual or in-person Museum tours. After discussing what a bird is students will create a collage only using scissors as their drawing tool. The artwork should e inspired by a poem the student writes or the bird they create can inspire the poem. This lesson can reinforce the use of lines and basic shapes they talked about in the Museum, as their characters will be made from paper cut in straight, wavy, zigzag, etc. lines and circles, squares, rectangles, triangles, ovals, organic shapes, etc. You will need:
- A single sheet of dark blue 8.5" x 11" construction paper cut to size (or another color of their choice) for the background
- Multi-color scraps of additional construction paper
- A glue stick
- Scissors
(The complete lesson plan can be found in the Unit Plan.)
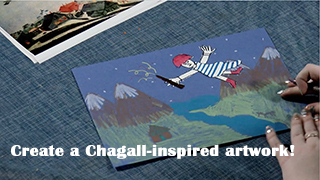
Lesson 7 - Chagall-Inspired Art Lesson
(Click the image below to link to video.)
This lesson is a follow-up to all virtual or in-person Museum tours. Students will look at dream-like images of Marc Chagall: imaginary landscapes with floating people, creatures, and objects hovering in the foreground. They will create a Chagall-like floating animal or person floating in a background they create. The artwork they create will be inspired by a poem they write or inspire the writing of a poem. You will need:
- A single sheet of dark blue 8.5" x 11" construction paper cut to size (or another color of their choice) for the background
- Multi-color scraps of additional construction paper
- An 8 1/2" x 11" sheet of white card stock
- Markers
- Construction paper crayons
- A glue stick
- Scissors
(The complete lesson plan can be found in the Unit Plan.)
The two animated videos were produced by the Fresno Art Museum Education Department and created in-house by former FAM Art Instructor Katie Jenkins-Moses.
The other videos were created as a collaboration between the Fresno Art Museum Education Department and the Office of the Fresno County Superintendent of Schools Multimedia Services and the Visual and Performing Arts Office through a partnership with the Kennedy Center Partners in Education and Any Given Child initiatives.
Special thanks to the following:
 |
 |
 |
 |

